Pesto Making 101
07.12.11
Making Pesto is easy and doesn’t take too much time. Plus it’s much better than the store bought kind. Today I’m going to show you how to make Arugula Pesto, but you can make the same recipe using Basil which I’ll get to in a bit.
First off, if you aren’t growing Basil and Arugula in your garden, shame on you. The Basil’s great to keep bugs away from tomato plants. I plant a basil plant at each of of my tomato beds. It’s hardy, grows all summer though it does drop dead at the first frost.
Arugula has become an “in” leaf used in fancy salads for it’s lovely, peppery taste. I like it that way, but I really like Pesto made out of Arugula. I’ll give you a recipe you can use with your Arugula Pesto tomorrow.
Now, let’s talk Pesto. I’m going to show you the Arugula version (something I’ve never seen in the grocery store.)
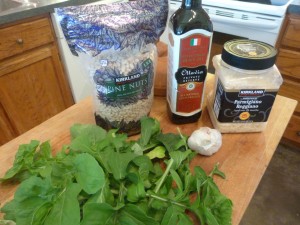
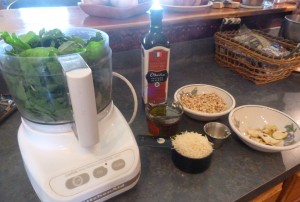
These are all the ingredients you need for Arugula Pesto
If you can’t find (or afford pine nuts – that big bag cost $24), you can also use walnuts. I haven’t tried them in my Arugula Pesto yet, but I will this summer. Let you know what I think.
Prepping the Arugula
Arugula is easy to grow, grows most of the year, will reseed itself and the bugs basically leave it alone. It also has only a couple of calories a cup. Just perfect in my book.
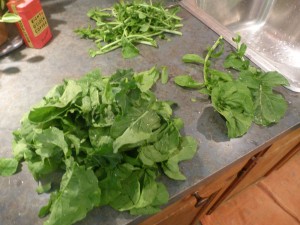
I let my Arugula leaves get pretty big before I decided to make Pesto. The smaller the leaf, the less peppery taste. I like the taste of pepper, so bigger leaves didn’t bother me. I’d suggest small leaves the first time you try it.
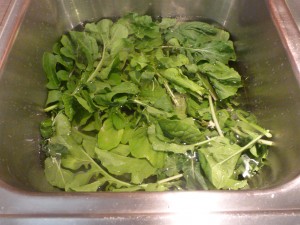
I separated the leaves from the stems and then triple washed them. You know how you pay extra for triple washed greens? All that means is that you wash them three times. I do that to make sure any bugs that might be lurking go down the drain.
Triple Washed Arugula
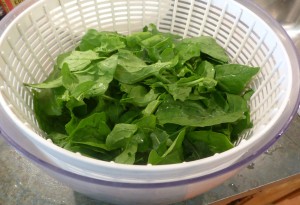
Then you need to get the leaves nice and dry because oil and water don’t mix. The Salad Spinner is perfect for this.
I’d like to take you for a spin
Drain the extra water and throw it into the fridge to dry and crisp up.
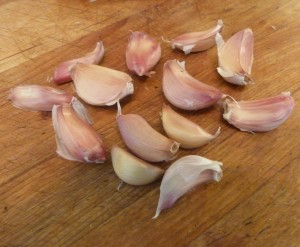
Get your garlic together
While the Arugula is crisping, play with the garlic. By the way, when I make this recipe I always double it, so everything you see here is for double the recipe.
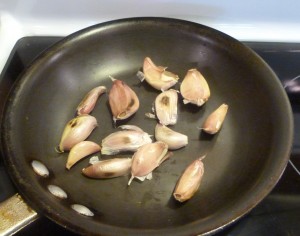
You need to leave the skins on the garlic before you roast it in a pan. This keeps the inside nice and mushy and not burned like the skins will be.
When you finished roasting the garlic, it should look like this
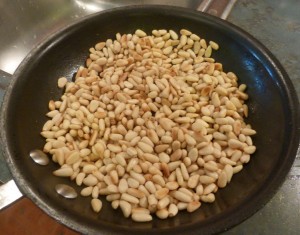
While you’re roasting the garlic on one burner, toast the pine nuts (or walnuts) on another. The garlic takes 7 to 10 minutes, but the nuts only take a couple of minutes. Watch them and keep stirring as so not to burn them.
Nicely toasted pine nuts
When these are both done, transfer to separate bowls to cool. Then slide the skins off the garlic and discard.
Now you are ready to make the Pesto
As a side note, I used pre-grated Parmigiana Reggiano Cheese this time and won’t do it again. It has wax on it to keep the shreds from clumping. Next time I’ll do it the old fashioned way (sigh).
Now that you’ve seen the process, here’s the recipe.
Arugula Pesto
This recipe comes from Simply Recipes. Remember, I always double it.
2 cups of packed Arugula leaves, stems removed
1/2 cup pine nuts (or walnuts)
1/2 cup fresh Parmesan cheese
1/2 cup extra virgin olive oil
6 large garlic cloves, unpeeled
1/2 garlic clove, minced
1. Brown garlic cloves (in their peels) in a skillet over medium high heat until the garlic browns (about 10 minutes.) Remove from the pan, cool and remove skins.
2. Toast the nuts in a pan over medium heat until lightly brown to get a roasted flavor.
3. Combine the Arugula, pine nuts, roasted, and raw garlic in a food processor. Pulse while drizzling the olive oil into the processor. Remove the mixture from the processor into a bowl. Stir in the Parmesan cheese.
Makes one heaping cup as written.
Once you blend the Pesto up (which doesn’t take more than a couple of minutes), you have two options.
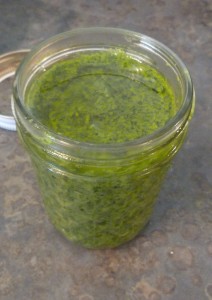
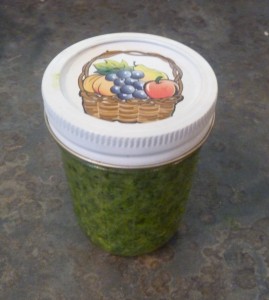
Jelly Jar Arugula Pesto
When you fill the jar, make sure and top it with a little more olive oil to keep it from turning black on the top. A a jelly jar makes for a nice presentation, but it will only last in the fridge for about a week. You can freeze the jar for a later date, but I never use that much pesto at one time, so I do this.
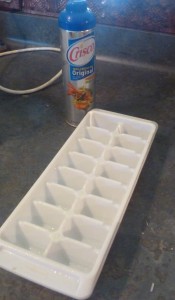
Spray a ice cube tray with Crisco
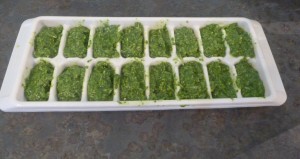
And then fill it with Arugula Pesto.
Easy to use cubes
Now cover with saran wrap and freeze until solid. Then you can pop them out (sounds easier than it is) and put them in a freezer bag. When you need some, just take out the amount you need and let it come to room temperature and use.
Thanks to Anita Smith for this great tip.
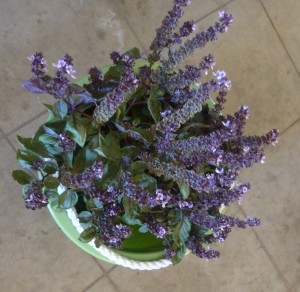
Since I was all set up for making Pesto, I decided to try something different
This is Purple Basil, so I made up a batch of it as well as some regular Basil Pesto. I think I liked the Purple better than the regular, but I like Arugula Pesto the best!
The finished product which I gave to my neighbor
Now she’s hooked too. Friday I’ve got a great recipe you can use with your Arugula Pesto.
Spreading laughter throughout the world…one chuckle at a time. Pray for DDM.
Mikie Baker
www.mikiebaker.com
